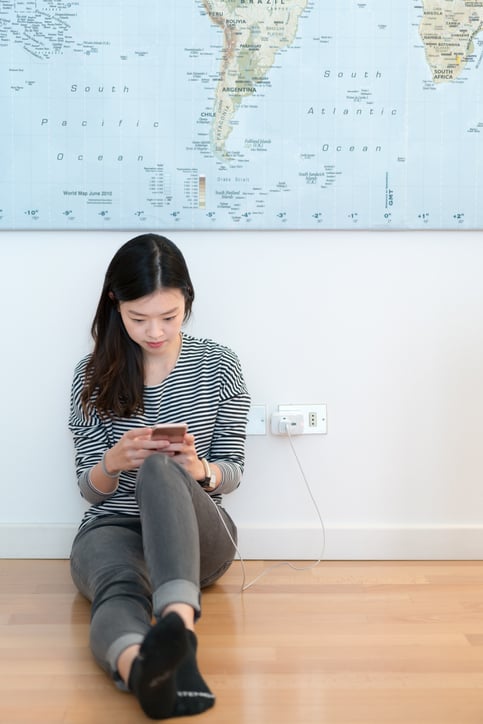
 Knowing how to install a USB outlet is becoming a popular topic as phones and other devices are increasingly dependent on USB chargers. For enhanced convenience, many homeowners are making the shift from regular wall outlets to outlets that have USB chargers.
In this blog, you’ll get a clearer understanding of the benefits of USB wall outlets. Keep reading for step-by-step directions straight from the experts at Cathey Electric regarding how to install a USB wall outlet.
Benefits of Installing a USB Outlet
Simplifying and streamlining processes in your home can be great for productivity and minimizing stress for you and your family members. It may seem silly, but the truth is something as simple as a USB wall outlet can make your life easier. Imagine no more bulky chargers taking up all the wall outlets, a tidier appearance for wall outlets, the ability to charge and use your device simultaneously, and the chance to charge faster than the traditional USB outlets found in desktops or laptops.
Do USB Outlets Draw Power When Not in Use?
When you leave a phone charger plugged into the wall, it draws a small but constant amount of power. This is called phantom energy draw. Many people considering installing USB outlets are concerned about the phantom energy these devices may draw. However, unlike chargers that utilize electricity when plugged in but not in use, USB outlets do not use electricity unless they are powering a device.
Before you begin the installation process, you will need to gather the proper tools:
New USB outlet wall receptacle and cover
Voltage tester
Wire cutters
Phillips and flathead screwdrivers
Needle-nose pliers
Cordless drill
Important Safety Note: It’s absolutely necessary to turn off the power to the outlet before you begin working. Do not take the first step until you ensure the appropriate circuit breaker is off by testing it with a voltage tester.
Once you have all of the needed tools for the project and are sure the power to the outlet is off, you can follow these steps for installing the USB wall outlet:
Step One: Remove the original outlet cover with your flat head screwdriver.
Step Two: Take the receptacle out of the wall; there should be one screw at the bottom and one at the top you will need to unscrew with your drill.
Step Three: Use the Phillips screwdriver to begin disconnecting the wires; there will be 5 wires total.
Step Four: Use the needle-nose pliers to straighten the wires.
Step Five: Begin connecting the wires to your new USB receptacle, which will have labels telling you which wires go where.
Step Six: Once connected, tighten each wire connection with a screwdriver.
Step Seven: Put the wires and receptacle back into the wall box and screw the receptacle into place.
Step Eight: Attach the new USB outlet wall plate using the flat head screwdriver.
Step Nine: Turn on the outlet’s circuit breaker and test it by trying to charge a device.
Of course, if you are ready to upgrade your outlets, but aren’t interested in handling the process yourself, reach out to us for the services you need! Connect with Cathey Electric now to schedule an appointment or call to speak to one of our friendly team members.


